Technical Art Demo Reel
Houdini Motion Smear Tool
Futurism Sculpture Tool - SIGGRAPH Submission
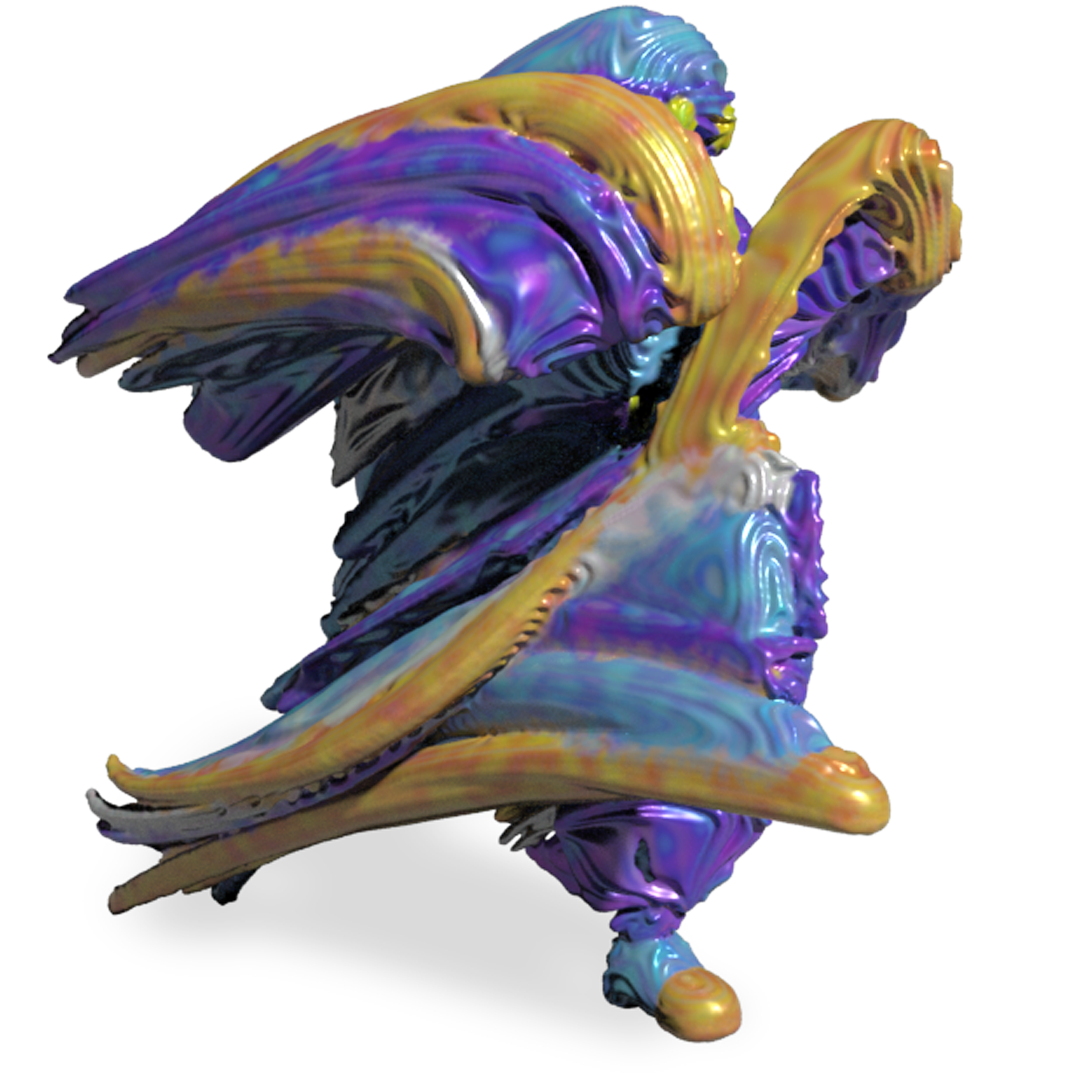


This project builds upon my motion smear tool to produce futuristic sculptures. I wrote a poster for SIGGRAPH 2021 that has been accepted. I wrote a longer paper for SMI 2021 in which I am still waiting for a response.
This work presents the concept of multi-material futurist sculpting. Inspired by works of Italian Futurist artists such as Umberto Boccionni. It uses an animated mesh with color data as an input to produce stylized sculptures free from artifacts like clipping and degenerate polygons. I convert the mesh into a volume of voxels to apply filters like dilation and smoothing to clean the mesh. I use a volume wrangler to apply scripting and used attribute data stored in vertices (based on proximity to voxel positions) to apply stylization. I create ripple effects by applying custom expressions using the motion data and normal data from each vertex.
This work presents the concept of multi-material futurist sculpting. Inspired by works of Italian Futurist artists such as Umberto Boccionni. It uses an animated mesh with color data as an input to produce stylized sculptures free from artifacts like clipping and degenerate polygons. I convert the mesh into a volume of voxels to apply filters like dilation and smoothing to clean the mesh. I use a volume wrangler to apply scripting and used attribute data stored in vertices (based on proximity to voxel positions) to apply stylization. I create ripple effects by applying custom expressions using the motion data and normal data from each vertex.
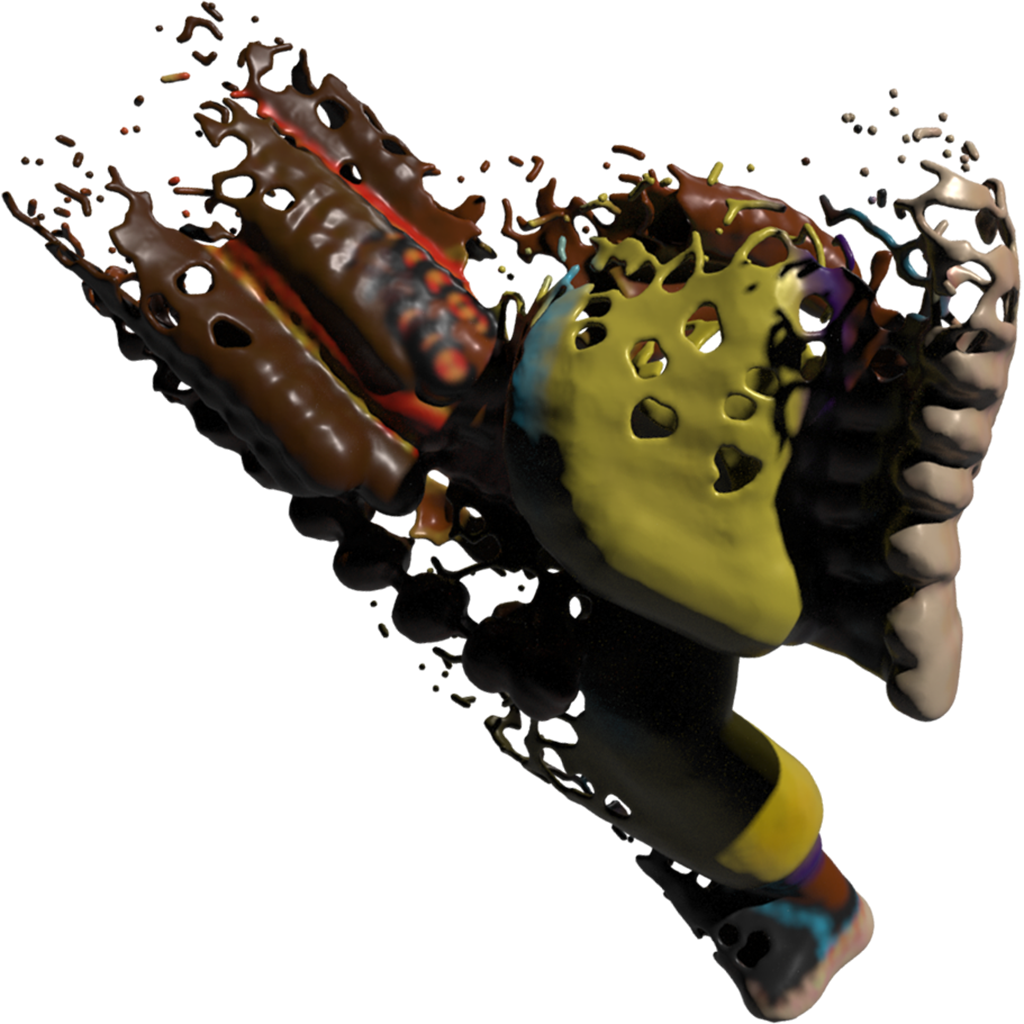
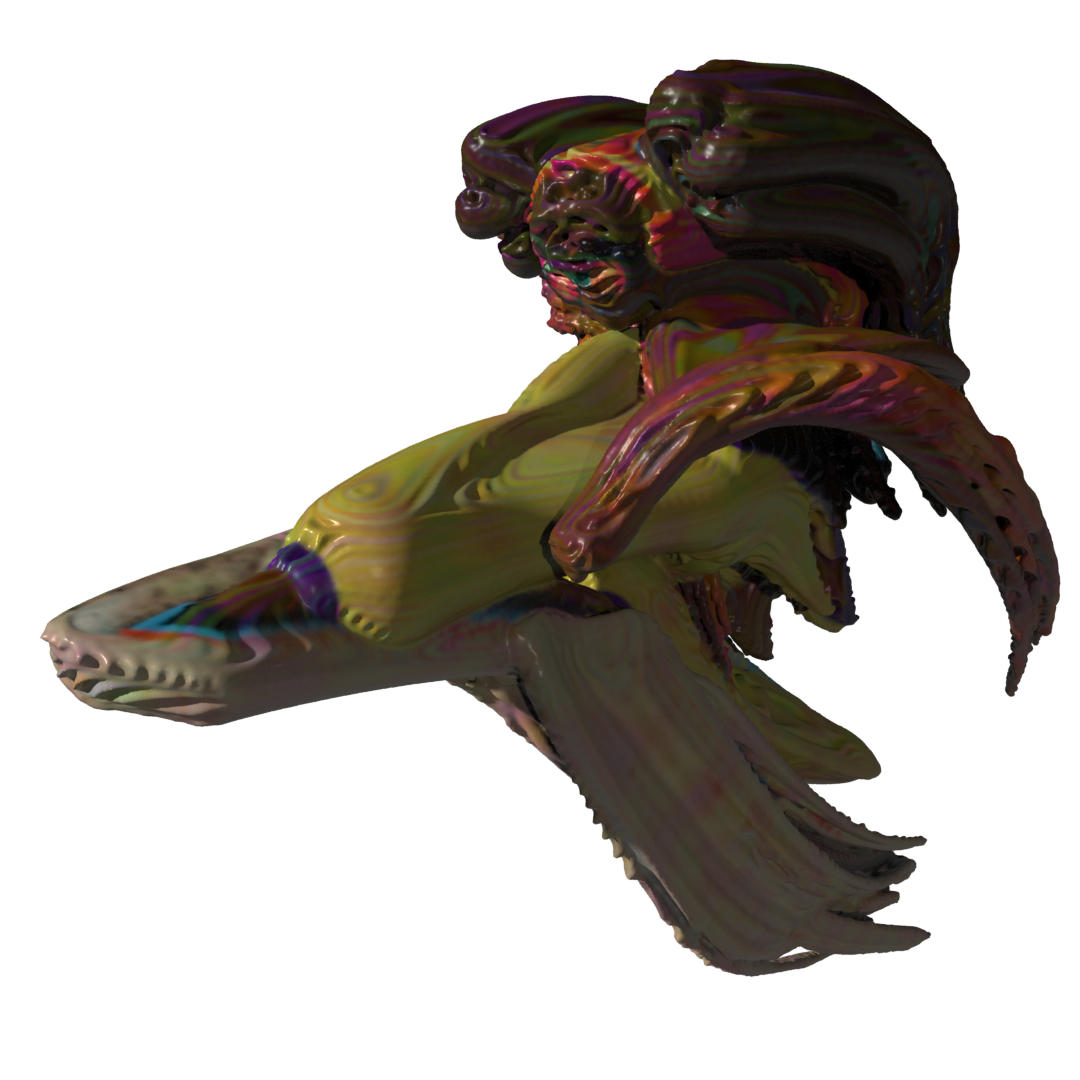
Exploded Snapshot
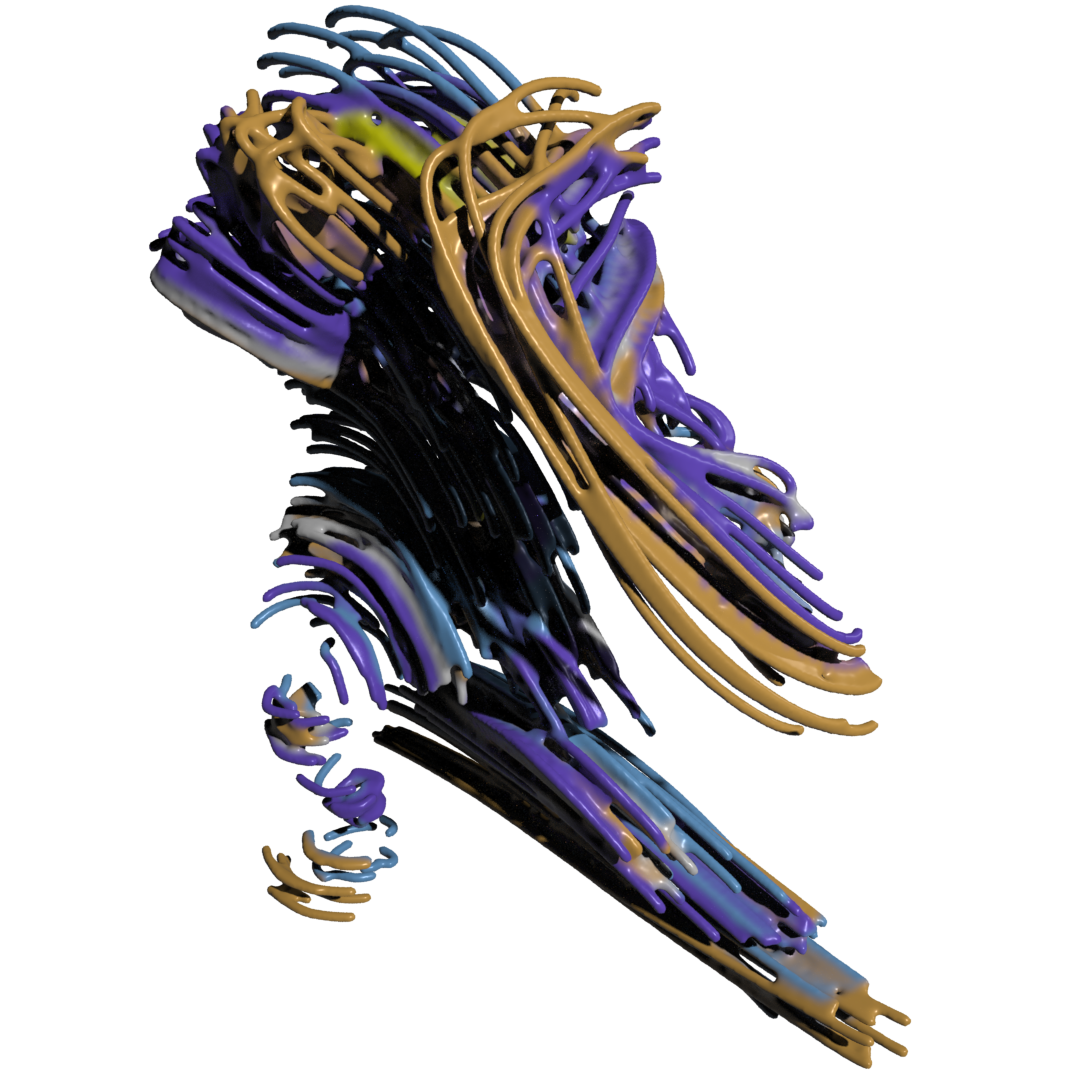
Speed-Lines
These are alternate ways of sampling the motion curve to create unique looking sculptures.
Houdini 3D Barrier-Grid Animation Sculpture
Phenomena: This illusion, known as "barrier-grid animation" or "picket-fence animation" takes advantage of our minds completing the silhouette when the vertical bars cover most of the image, revealing only the parts that pertain to one frame of animation. This illusion has only been done in 2D images. This simulation/tool serves as a template for a theoretical 3D-printable version of this illusion.
Process: The idea is to only show 1/n of the full sculpture at a time, where n is the number of frames in the animation loop. The vertical bars therefore had to be n-1/n units in width. Perspective had to be accounted for, so I used Vex to draw lines from the eye point and through each side of each bar. Using those lines I generated triangles which were extruded into wedges. Those wedges were used to find the intersection boolean between the sculpture for that frame and the wedge, resulting in the pieces of the mesh that would be seen from that perspective. This process is iterated per frame to generate the final sculpture.
Other Vex operations were used to generate the vertical planes holding up the otherwise floating mesh pieces which would have ideally been used as the base when printing the object.
Houdini Crowds Simulation of Cats Landing on Their Feet
Maya Crystal Lizard Rig
Maya MEL Procedural Walk->Trot->Run Animation
Houdini Procedural Crystal Cluster Tool
C++/CUDA Realtime Ray Tracer
Houdini/Vex Procedural Lightning Mesh Tool
Houdini Dust Simulation
UE4 Tile-Based Workflow
Unity Pixel Art CG Workflow
2D Style Expressions on 3D Rig
Blender3D Buzzsaw Stylized Motion Blur
Image I made in Adobe Illustrator. Doesn't have the same rotational symmetry issue.
Simple Panda Rig